UPDATE: If you have obtained a new device, or your credentials have changed and you require the MFA to be reviewed or reset please contact the Pinch Support team via our support form.
For example, if your customer’s username and password are compromised in a phishing or malware attack, having MFA enabled significantly reduces the risk of unauthorised access to their account. The attacker will only have access to one factor of authentication — the user’s login and password. MFA means they don’t have access to that second factor of authentication relevant to that user, such as physical access to a mobile device with a verification app installed.
This better protects your customers from fraud and damage to their business — and helps secure everyone, from the customer to app partners, to your accounting software.
Set up Pinch MFA
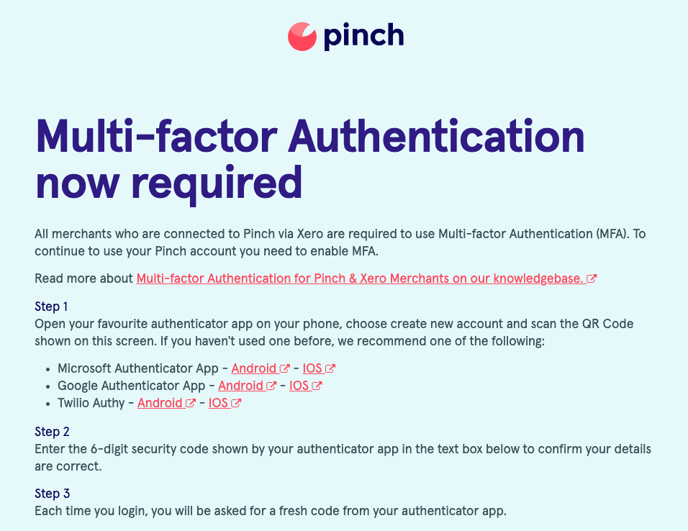
If you are a new user to Pinch or have not used Pinch in a while, you will be prompted to enable MFA the first time you log into Pinch
Common Issue
What if the account details are shared amongst multiple employees?
One of the biggest challenges we have found with MFA is the sharing of account log in details. For example, you have an accounts@business.com login for Pinch that is used by the manager, accountant, and sales staff.
The introduction of MFA means that you will no longer be able to have only one login or user for Pinch or share these details across multiple employees.
As MFA can only be tied to one log in and one mobile device, each employee which needs access to your Pinch account will have to be set up as a new user.
In order to resolve potential issues, we encourage the Admin of your Pinch account to be the first to use the primary log in details, set up MFA, and then add additional users via other email addresses to the Pinch account.
This will mean that each individual user is invited to your Pinch account, has their own login details, and their own MFA.

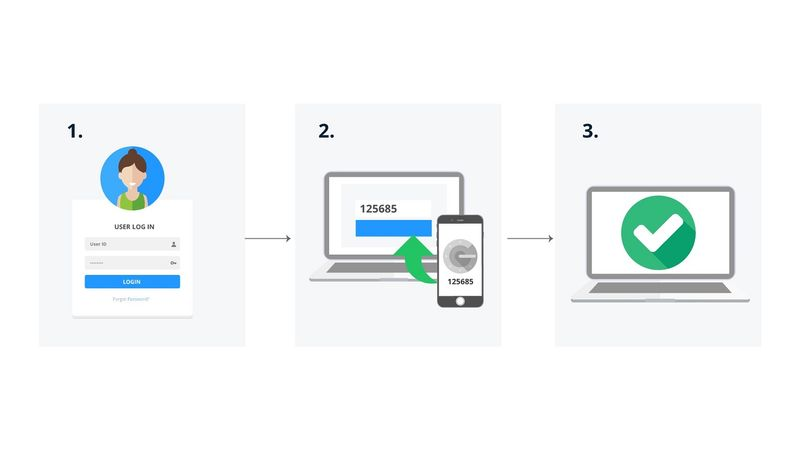
To set up MFA, you will need to use an Authenticator application on your mobile device.
This article is a great explainer on why MFA is important and how authenticator apps work across multiple services.
Authenticator apps work the same way text-based 2FA does, but instead of having a code sent to you via text, the code appears in the app. The code also changes every 30 seconds or so as an added measure of protection.
Once you have your chosen Authenticator app ready, follow the on-screen app prompts to scan your QR Auth code. Or manually input the code that is displayed at the bottom of the above page. Your QR code can be found by navigating here, you may need to log in to Pinch if you are not currently logged in. The image below is just an example.
*This QR code is an example, not your QR. Please use the one on the MFA setup page displayed after sign-in. 
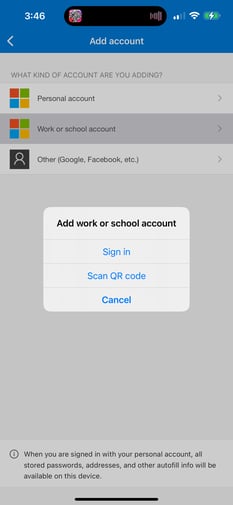
This example is the Microsoft Authenticator App.
Select "Scan QR Code, " and the camera tool will open, allowing you to Scan the QR code on the Pinch webpage.
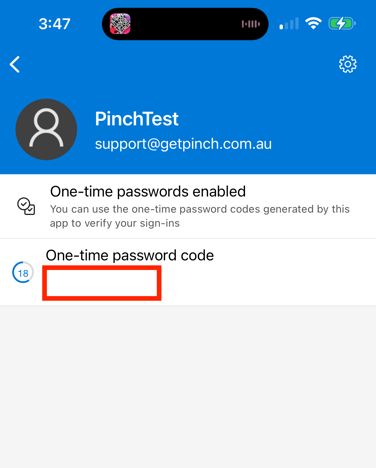
This will then create the Authentication between your Pinch login details and mobile device.
You will then be presented with a dynamic 6-digit code.
Login using your newly configured MFA
Now that you have set up your MFA, head back to the Merchant Portal and login.
Once you enter your log in details, you will be prompted by Pinch to enter your 6-digit code.
Open your authenticator, access the Pinch details and enter the code to proceed.
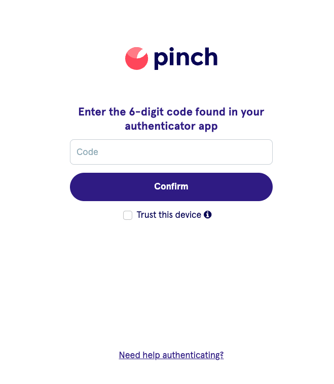
The "Trust this device" checkbox allows MFA to be only required every 14 days.
Please note: Pinch MFA is separate to any other MFAs you may have. Your authenticator application will have codes for each of the services that require MFA. You will need to enter the Pinch code when required to.

That's it! You now have MFA configured on your account.
If you experience any issues setting MFA up, please get in touch with us here and the team will assist you.
In addition, here are some helpful articles on setting up your Google or Microsoft Authenticator apps.
How to use Google Authenticator
How to use Microsoft Authenticator
Creating new users on your Pinch account.
If you need to set up new users on your Pinch account, please follow these steps.
Only the admin of your Pinch account can add new Users.
Once logged in, navigate to the Users Tab and select Create New User
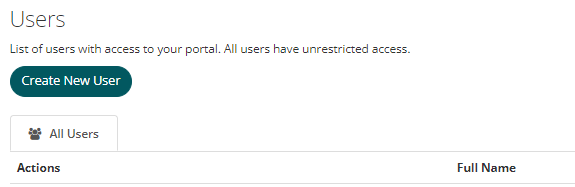
Enter the users name and email address for them to be invited to your Pinch account

You should do this for each user who needs access to your Pinch account - and each user who will need to set up MFA.
The new user will receive an email from Pinch to configure their settings.
It looks like this and comes from hello@getpinch.com

Follow the 'Set password' Link to continue.
You will now be prompted to set a password for your account.
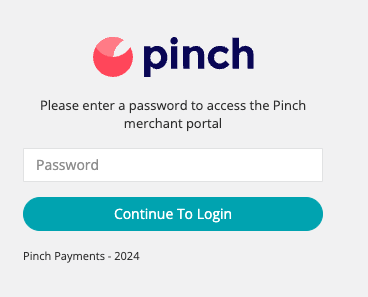
Once a password is created, you will be redirected to the Merchant Portal page to login.
As this is the first time login, you will then be directed to the MFA set up process.